Shopify AI Customer Service (2026): AI Chatbot + AI Chat Setup
If you’re searching for Shopify AI customer service, Shopify AI chatbot, or Shopify AI chat, you’re usually trying to do two things: answer customers faster and reduce repetitive tickets — without losing quality.
This guide covers the practical playbook: what to automate first (WISMO/returns/product Q&A), setup options (Shopify app vs widget), and how to keep costs predictable with BYOK (bring your own OpenAI/Claude/Gemini key) + human handoff.
Next steps: Best AI chatbot for Shopify · Best live chat for Shopify · Gorgias alternative (Shopify) · Tidio alternative (Shopify)
What to automate first (highest ROI workflows)
- Order status (WISMO): where is my order, ETA, tracking links
- Returns & exchanges: policy + step-by-step instructions
- Product Q&A: sizing, compatibility, materials, usage
- Shipping & payment questions: options, costs, delivery windows
- Pre-sale recommendations: upsell/cross-sell based on catalog
BYOK tip: if you want predictable AI chat costs, use your own key: OpenAI · Claude (Anthropic) · Gemini
Shopify AI chat setup options (choose your path)
- Shopify app: best if you want native store integration (products/orders) with minimal effort.
- Website widget: best if you want one AI chat across multiple sites/platforms.
- AI-first with human handoff: use AI for 80% of questions, but escalate to tickets/operators for edge cases.
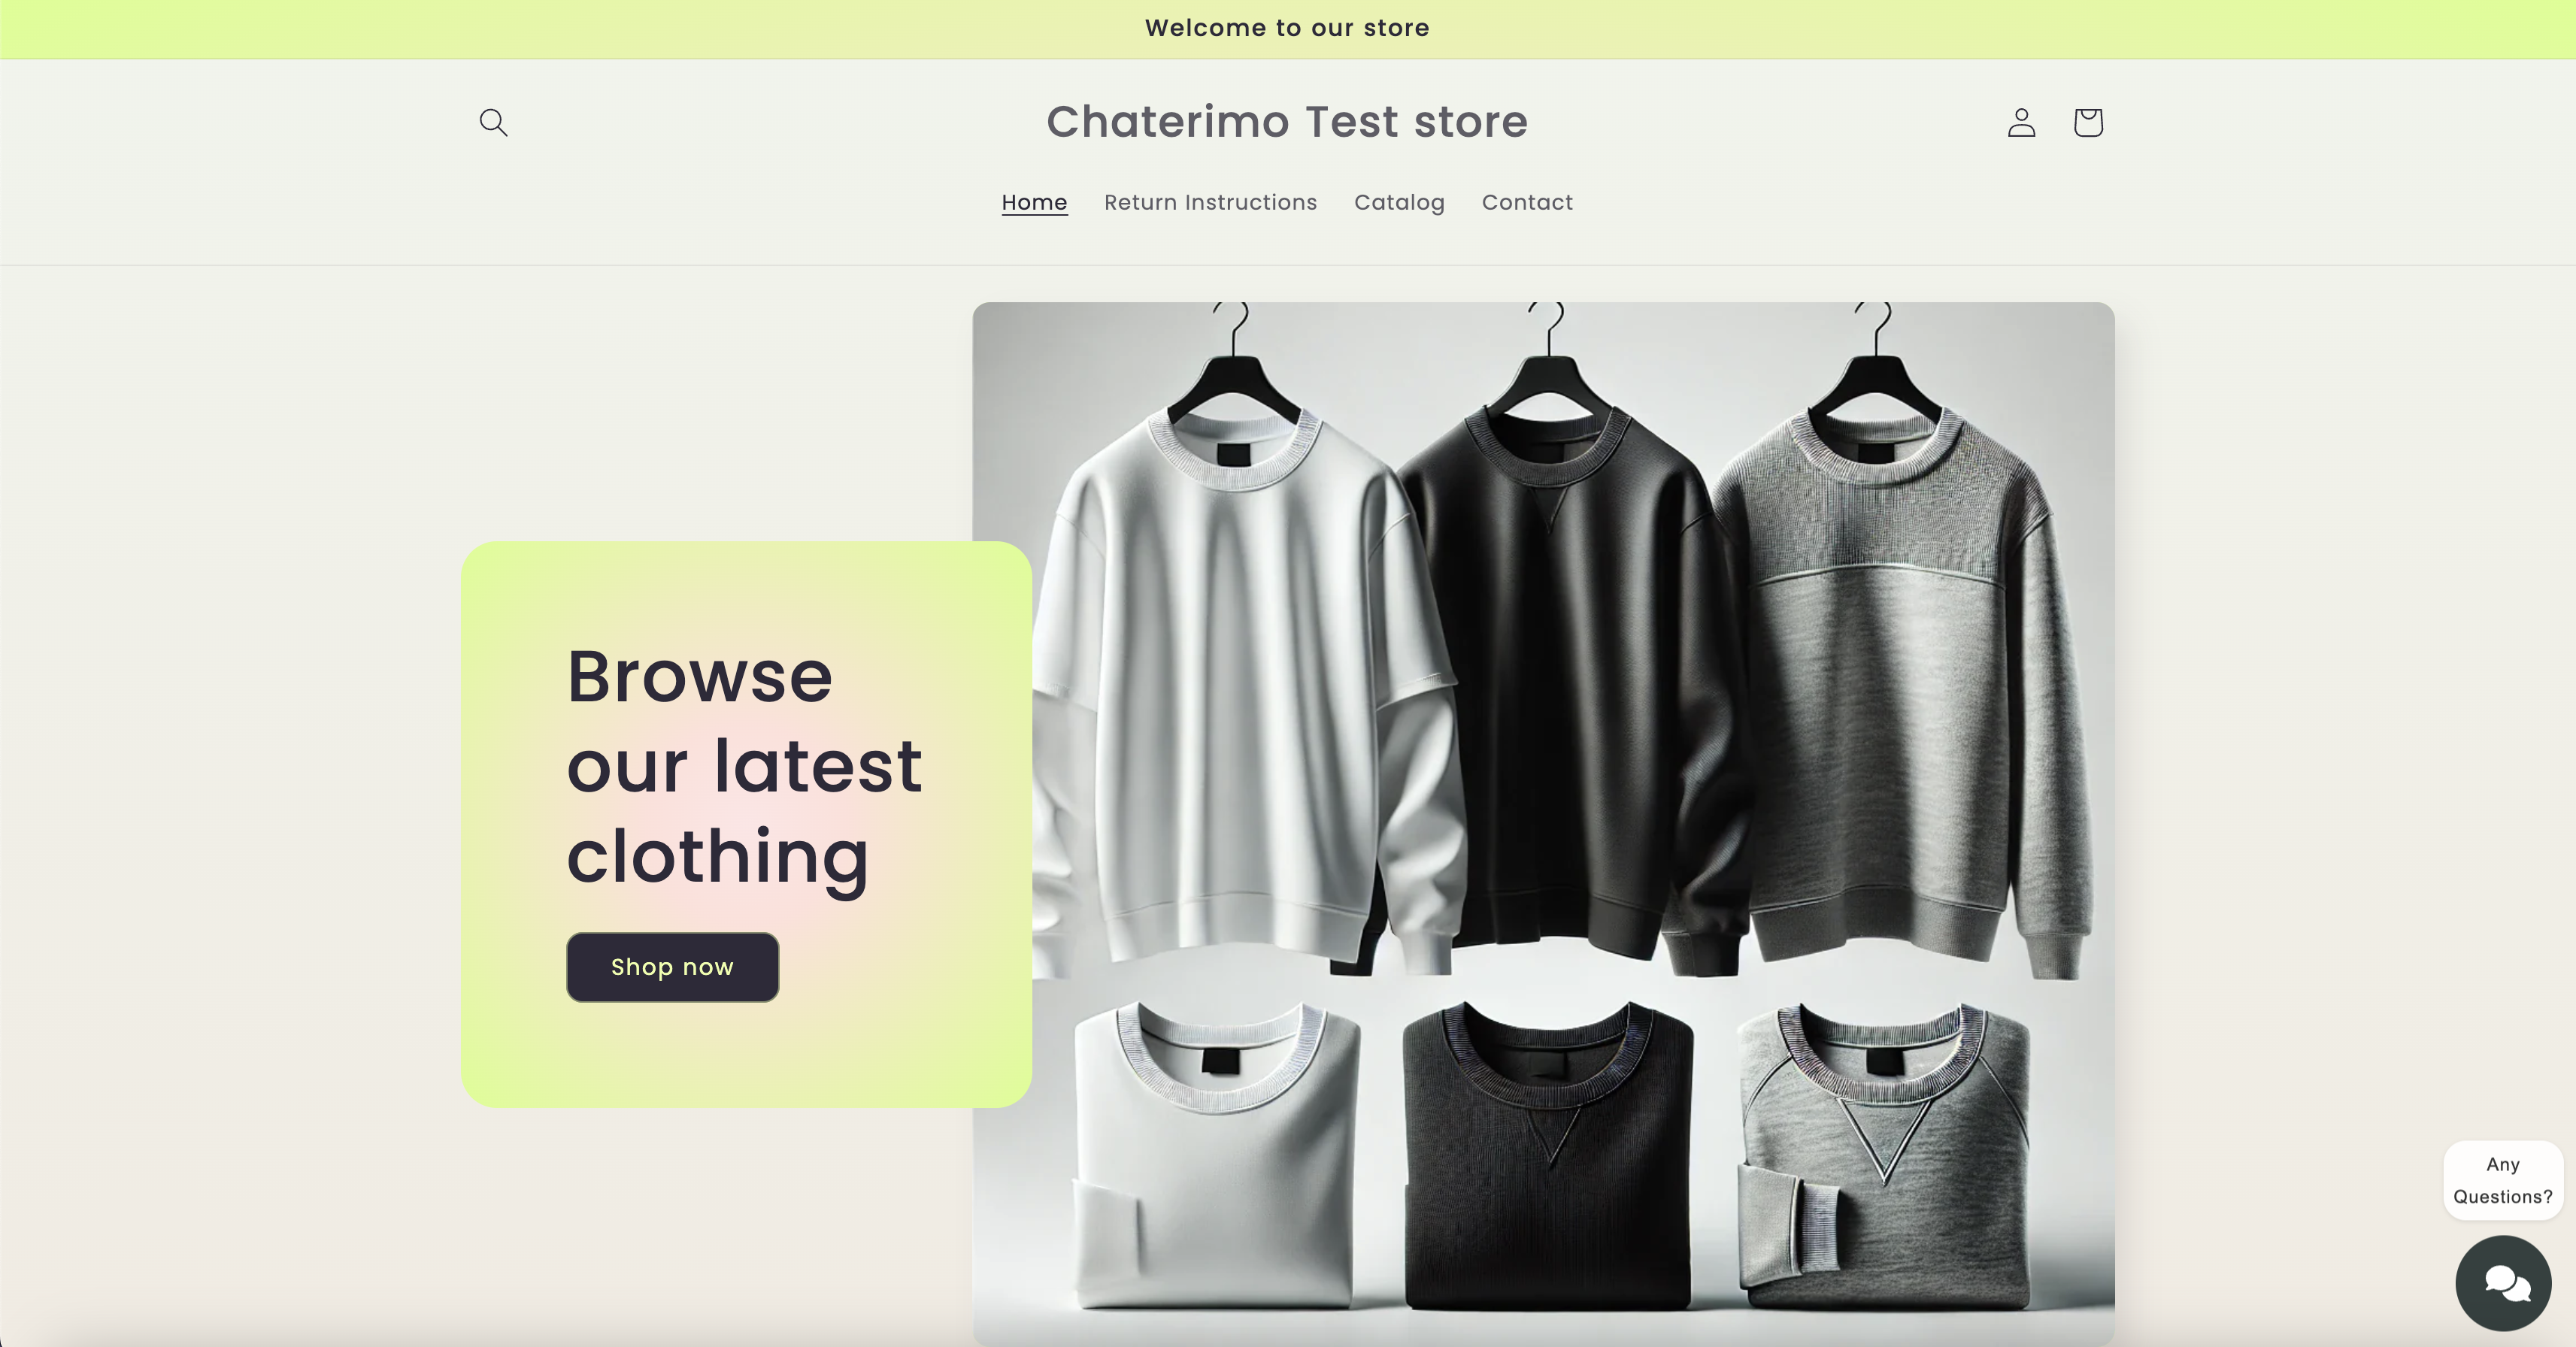
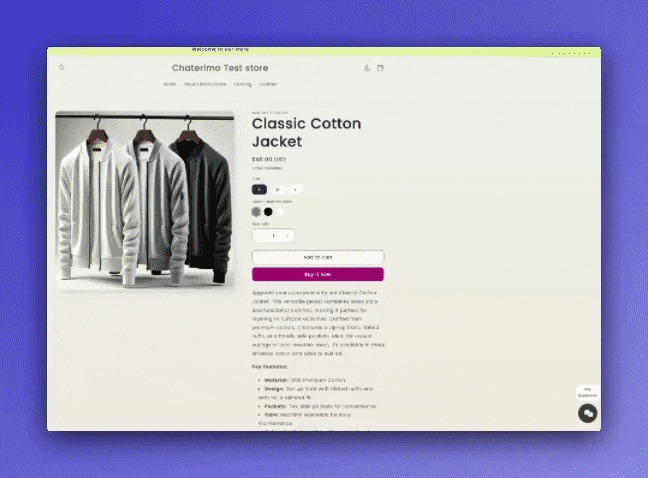
To demonstrate our features, please visit our test store. This e-shop has the Chaterimo chat widget installed, connected to the basic knowledge base of the e-shop along with a products downloaded via Shopify API. Feel free to try it out and ask questions!
For example, you can ask about:
- Hello, give me status of my order 7602065342798
- What products are you selling?
- What to do if I want to return products?
Why Chaterimo stands out?
-
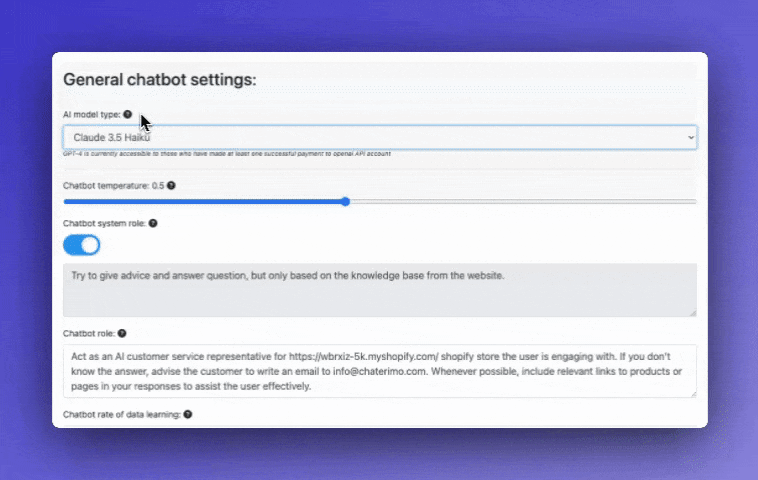
Multiple AI Models:
Choose between ChatGPT, Claude, or Gemini and test them side-by-side to find the best fit for your business.
Watch how you can select and compare AI models in real-time.
-
Cost-Effective:
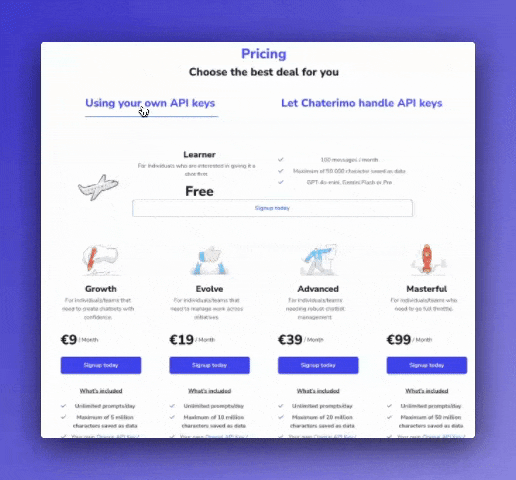
Slash your costs by up to 50% by using your own API keys from OpenAI, Anthropic, or Google while maintaining unlimited messages.
Watch how you compare subscription plans with your own API keys.
-
Seamless Integration:
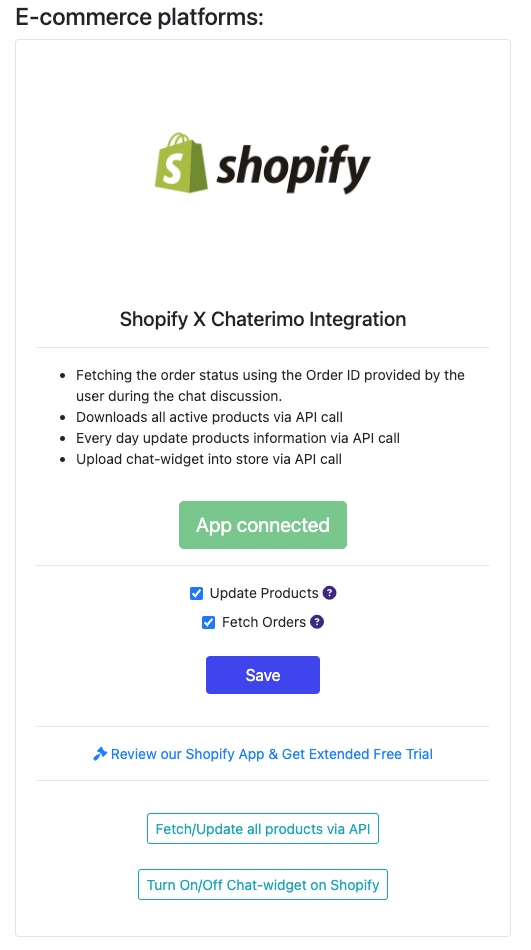
Our Shopify app seamlessly connects your store with Chaterimo's AI chatbot, eliminating any need for manual coding.
Find our Chaterimo shopify app here
-
Order Status Tracking:
Enable customers to check their order status by providing their order ID. Store owners can customize status descriptions to provide additional helpful information for each order state.
Automatic Product Updates:
Direct integration with Shopify’s API ensures that the chatbot always has up-to-date product information and pricing.
-
24/7 Customer Support:
Deliver round-the-clock assistance with instant, accurate responses that meet your customers’ needs anytime.
Customizable Experience:
Personalize the chatbot’s appearance and responses to reflect your brand’s identity and enhance user engagement.
Integration Options
Option 1: Using the Shopify App (Recommended)
The easiest way to integrate Chaterimo with your Shopify store is through our official app:
- Visit Chaterimo on the Shopify App Store.
- Click Install to install Chaterimo app on your store.
- Follow the guided setup process to create your Chaterimo account.
- Configure your chatbot's appearance and settings through the dashboard.
- Start your 7-day free trial to test all premium features:
- Explore all AI capabilities including language models, chat personalities, and customizable response styles.
- Test order status tracking.
- Try customization options.
- Experience automatic product updates.
- Congratulations! You have successfully integrated Chaterimo with your Shopify store. Your chatbot is now ready to assist customers, provide product information, and enhance the overall shopping experience on your site.
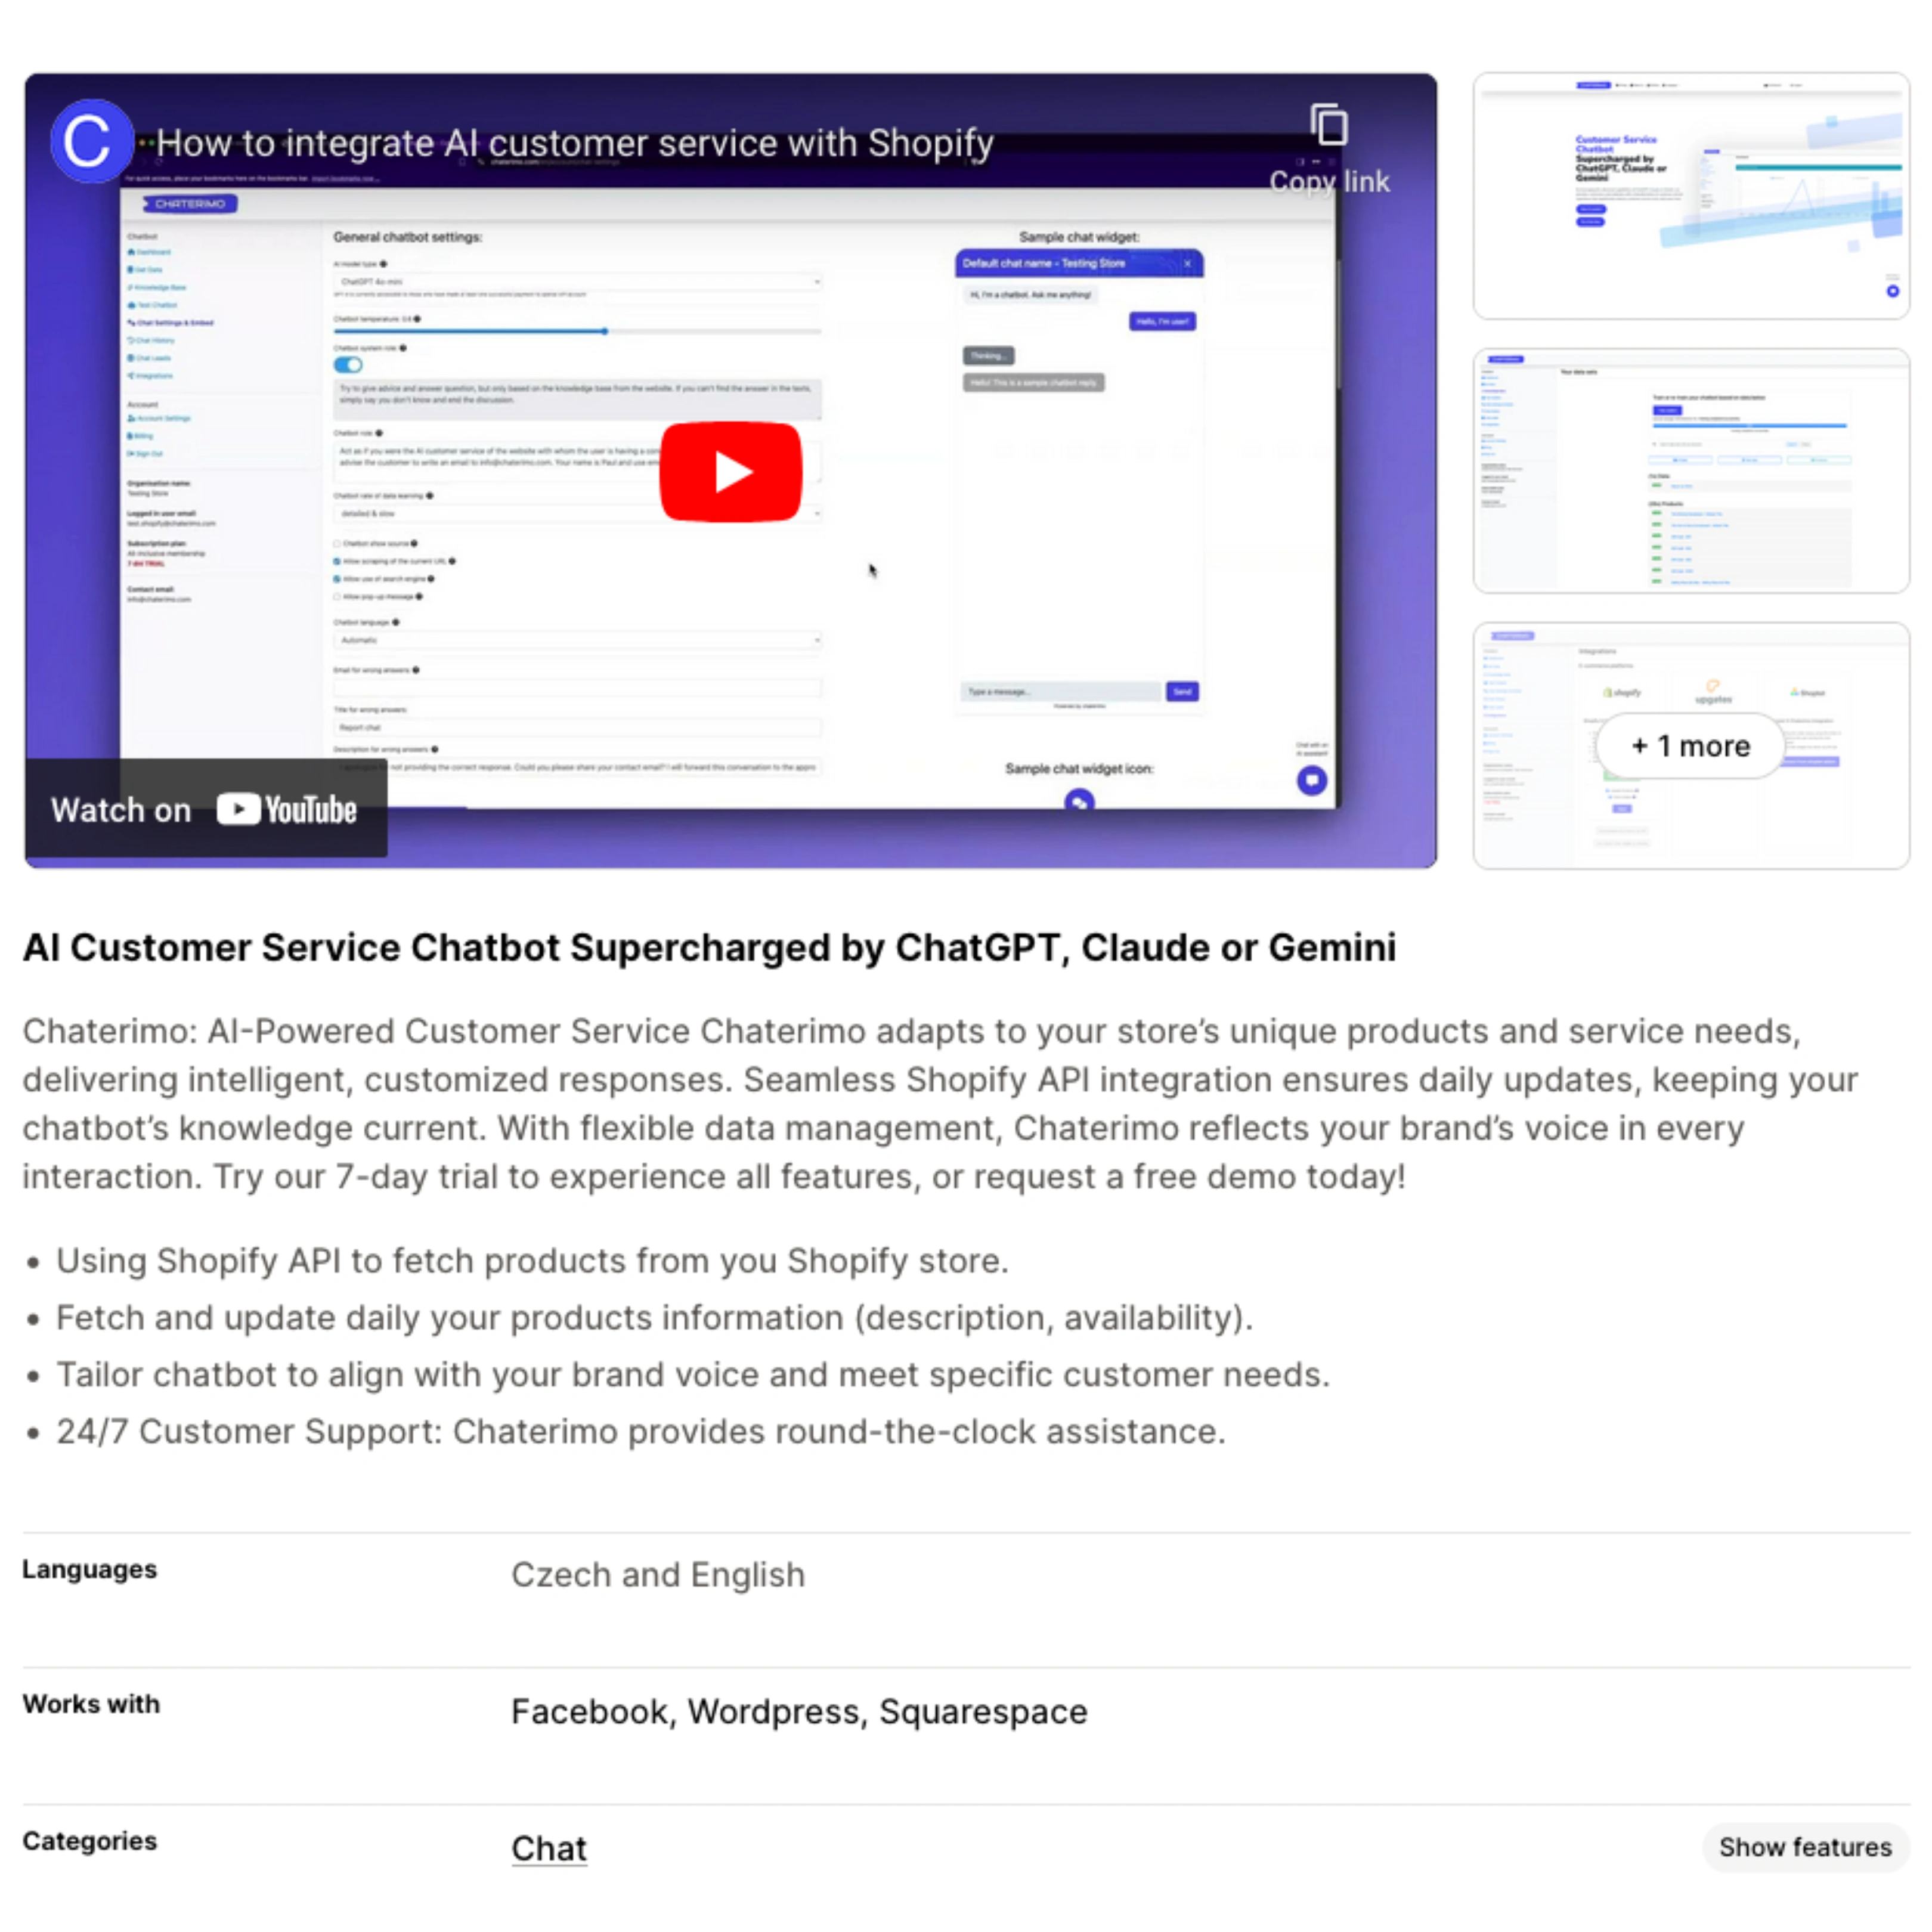
Watch our step-by-step video tutorial for a detailed walkthrough of the integration process: Chaterimo Shopify Integration Tutorial
Unleash AI Capabilities for Your Brand
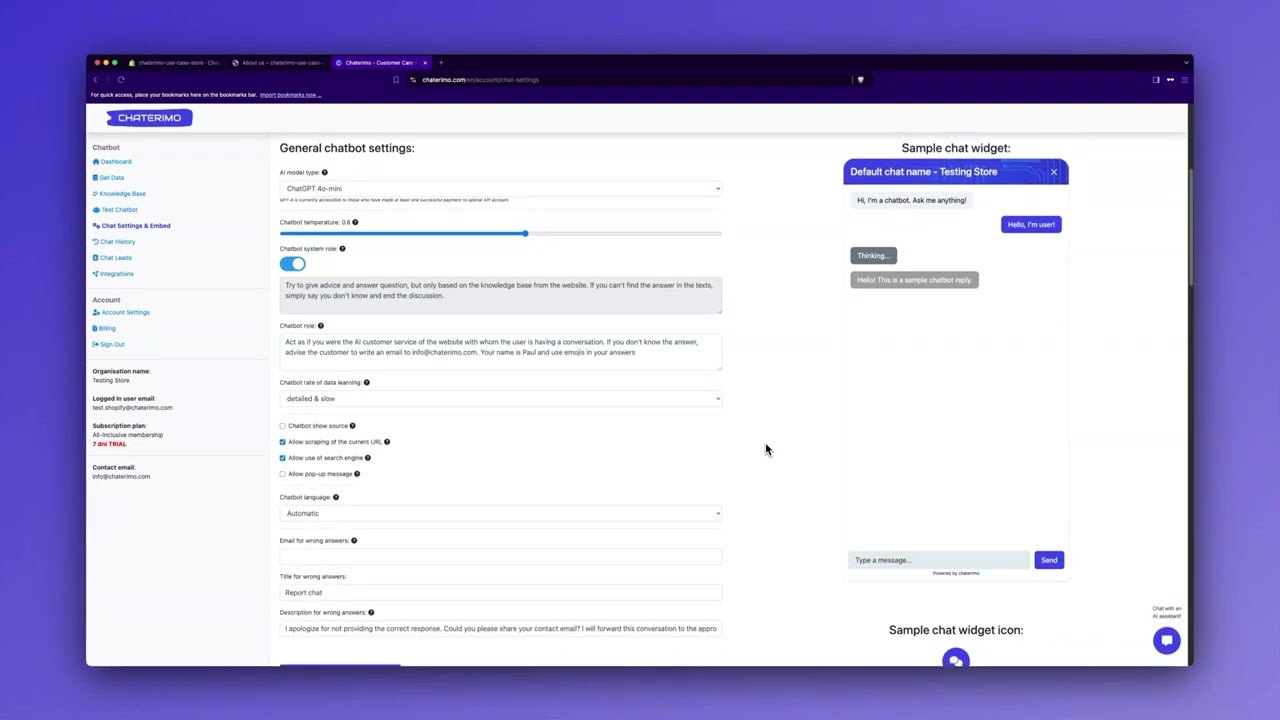
Customizable AI Personality
Shape your AI assistant's personality to match your brand voice. Whether you want professional responses, friendly chat, or even poetic interactions, you can customize the chatbot's role and behavior to create unique customer experiences.
- Set specific roles and instructions
- Choose between formal or casual tone
- Enable creative responses with emojis
Smart Fallback Options
Never leave a customer without help. When the AI encounters questions outside its knowledge base, it can gracefully direct customers to your contact form, support email, or specific help resources.
- Custom fallback messages
- Direct links to contact forms
- Seamless handoff to human support
AI Response Control
Fine-tune your AI's creativity level using temperature controls. Lower settings provide more consistent, factual responses, while higher settings enable more creative and varied interactions.
- Adjust AI creativity levels
- Balance accuracy and engagement
- Perfect responses for your needs
Context-Aware Responses
The AI understands context from your store's data, product catalog, and customer interactions, providing relevant and accurate responses that align with your business context.
- Product-aware recommendations
- Order history integration
- Store policy compliance